Installing | Configuration | Testing
Installing the plugin
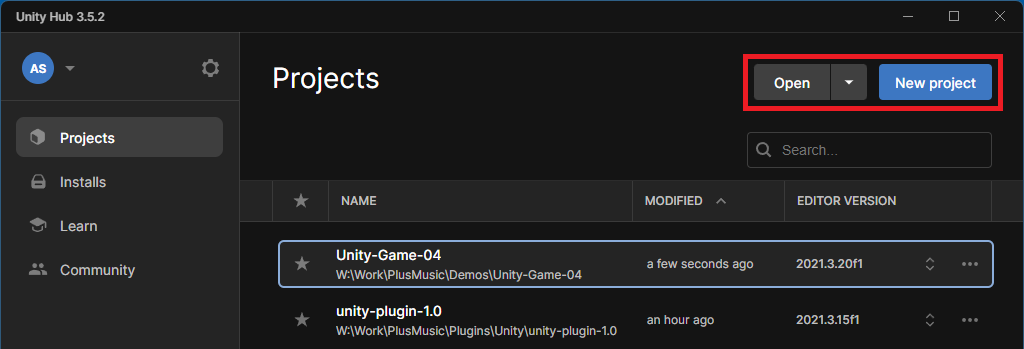
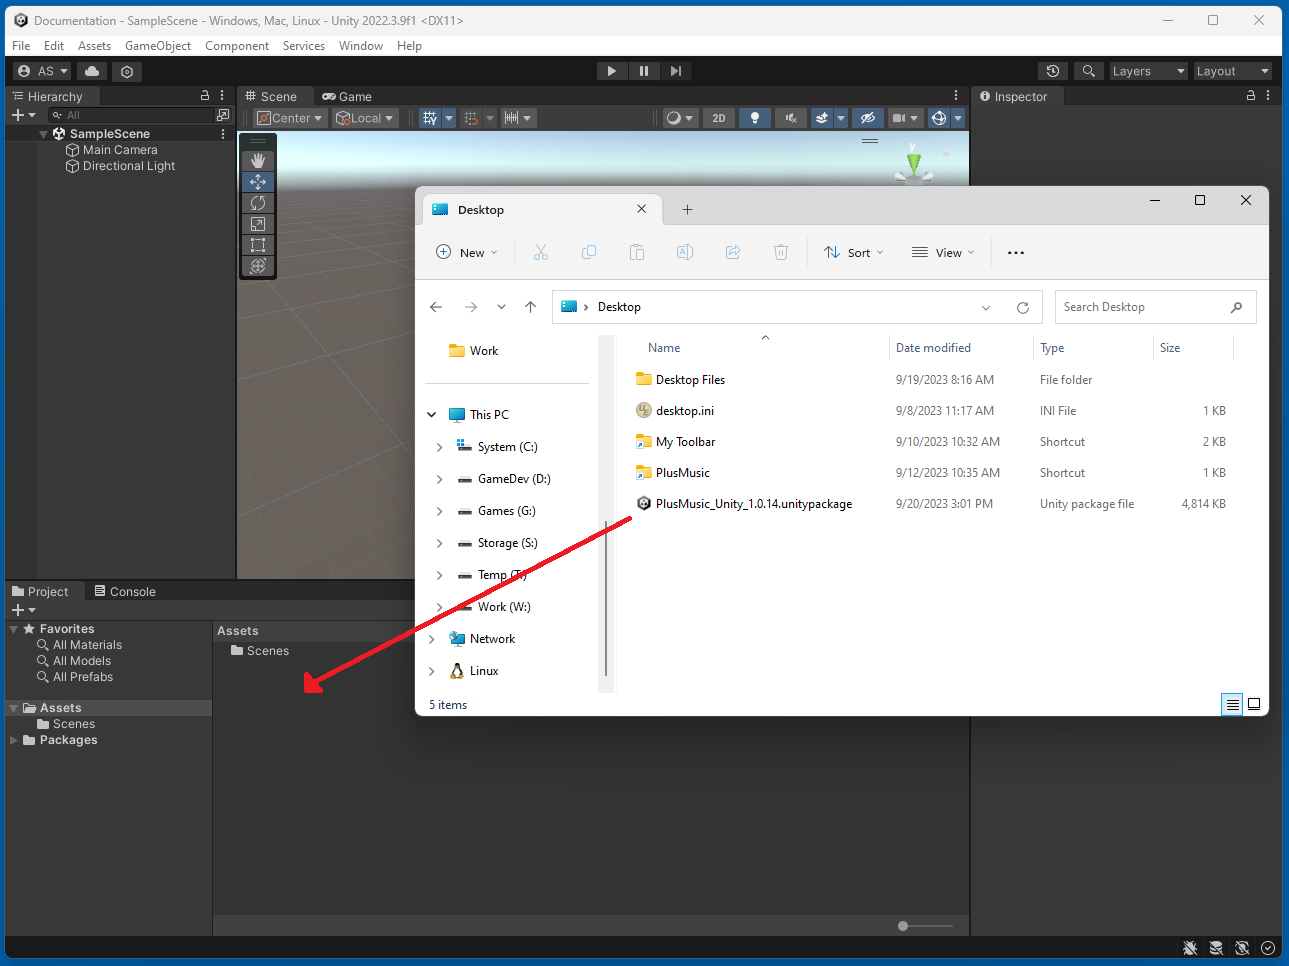
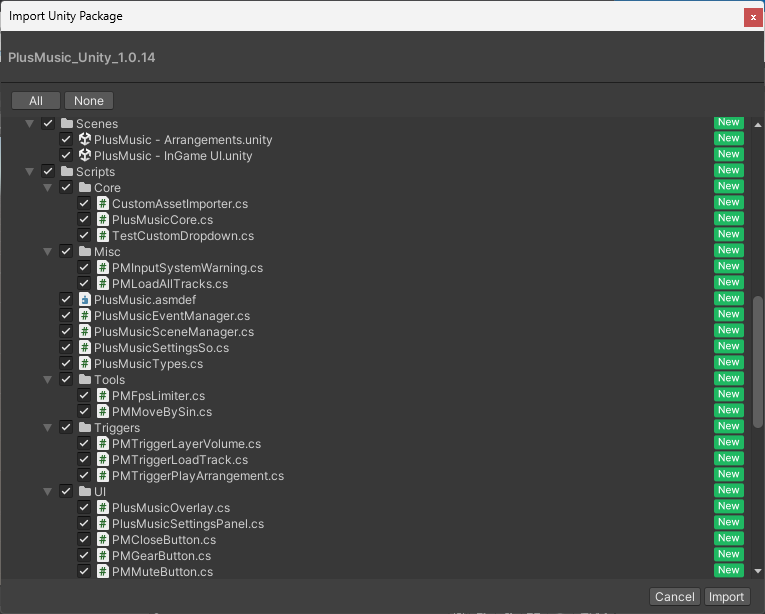
NOTE: If you get a popup for TMP (TextMeshPro), make sure you import that as our UI prefabs use it.
Configuring the Plugin
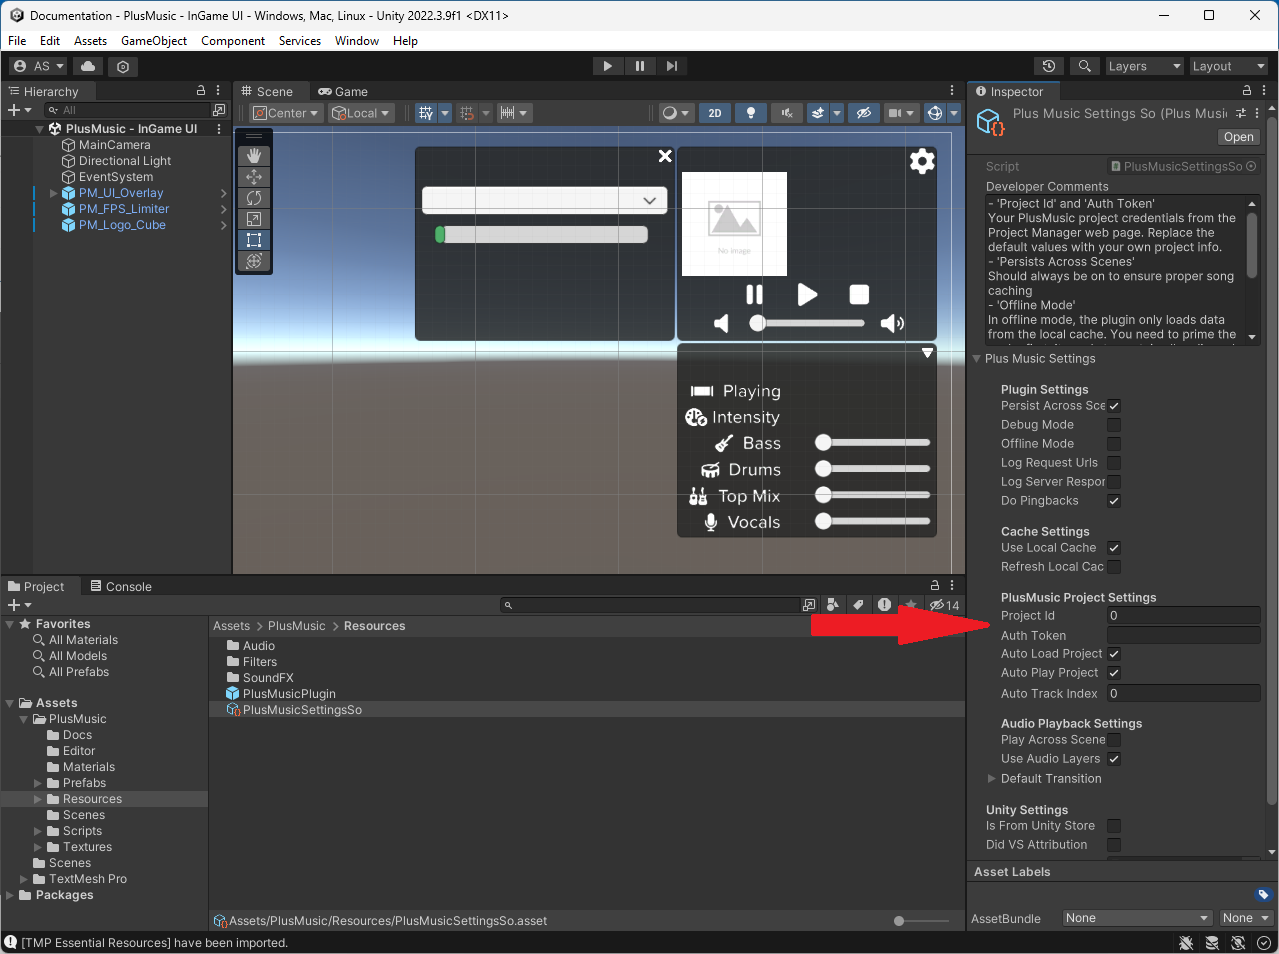
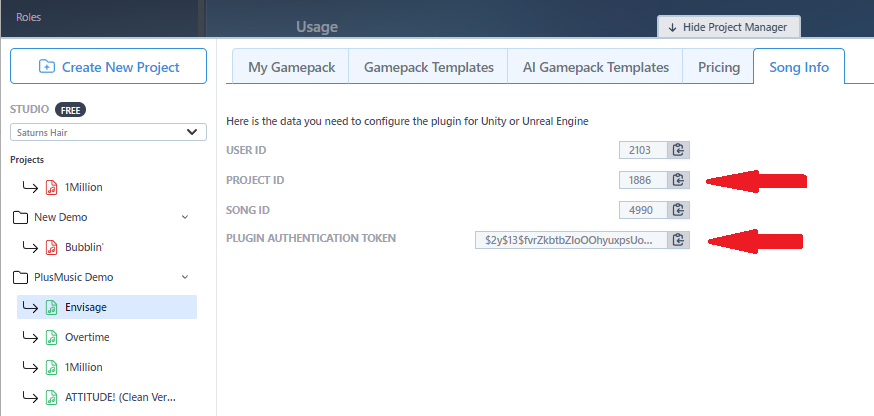
In the Inspector window, enter your PlusMusic Project ID and Authentication Token (see below). If you don't have a PlusMusic account yet, you can leave the fields empty to load the default project and its sample tracks to test the plugin.
Testing the Plugin
Open one of the two supplied sample scenes from Assets/PlusMusic/Scenes/ and play them in the Editor.
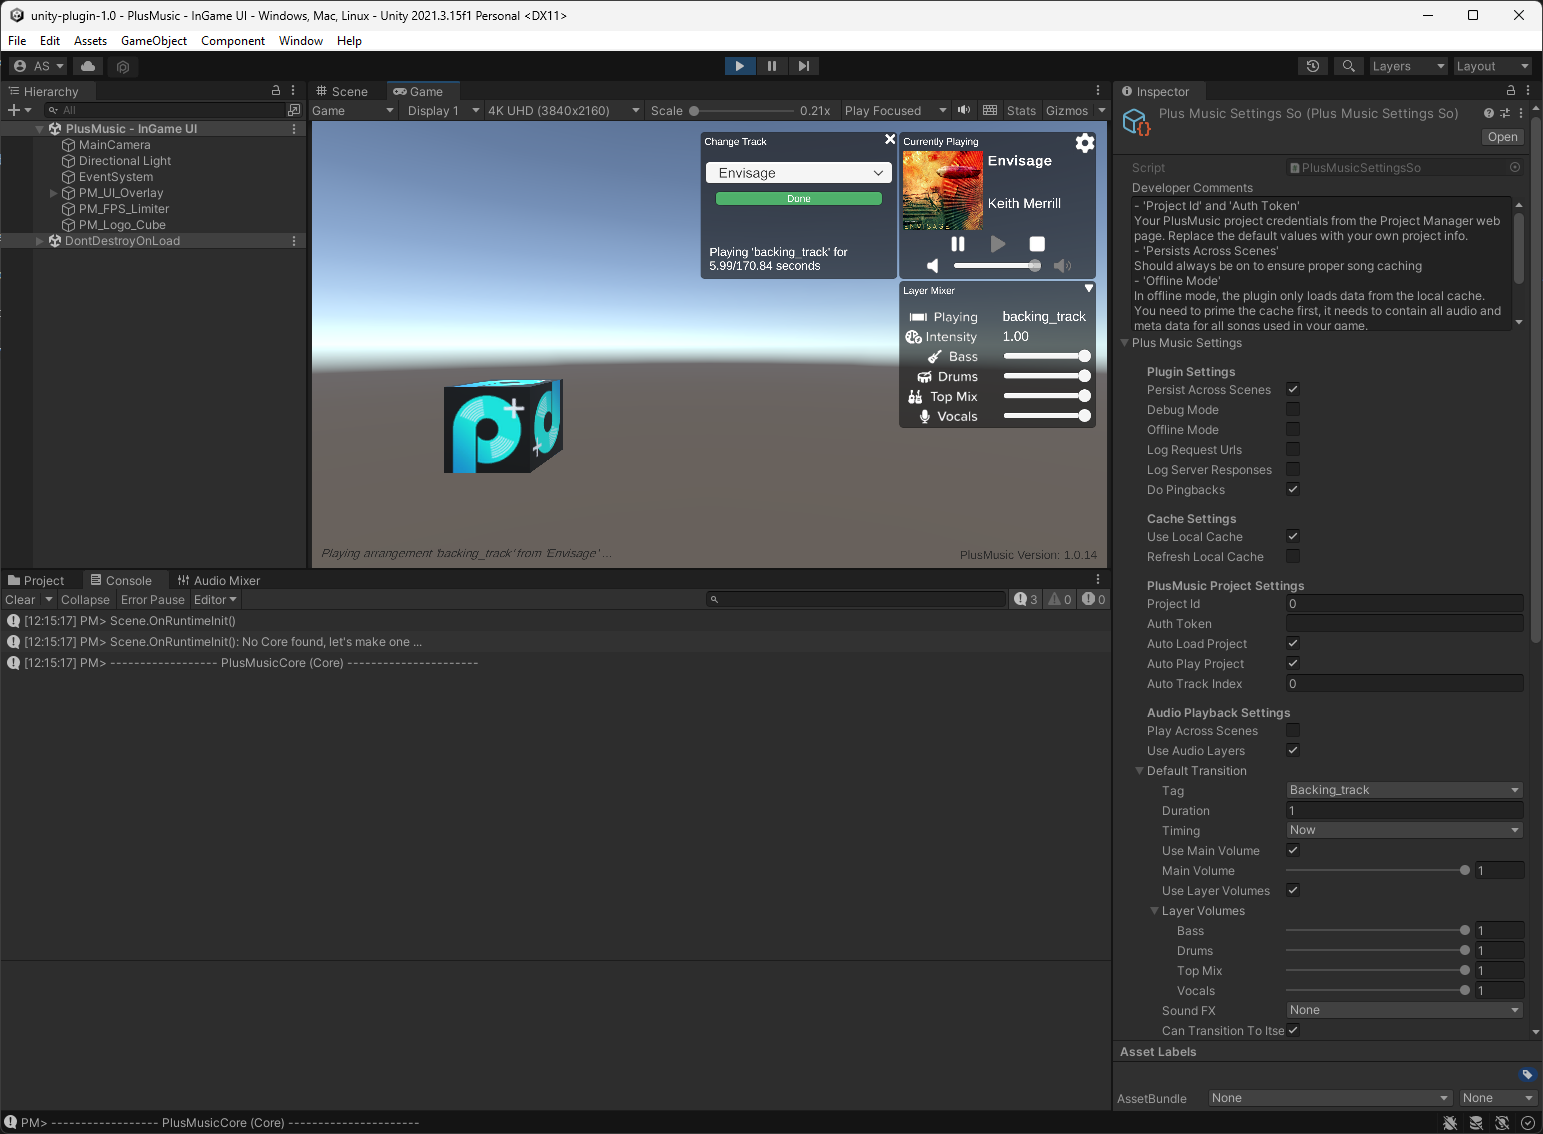
You should see some PlusMusic related entries in the console log as the plugin starts and auto loads/plays the first song in your project (or the default project).
After a few seconds of loading time, you should hear the music playing.
NOTE: Your game needs an "Input Manager" installed in order for the UI in our sample scenes to be interactable with the mouse.
